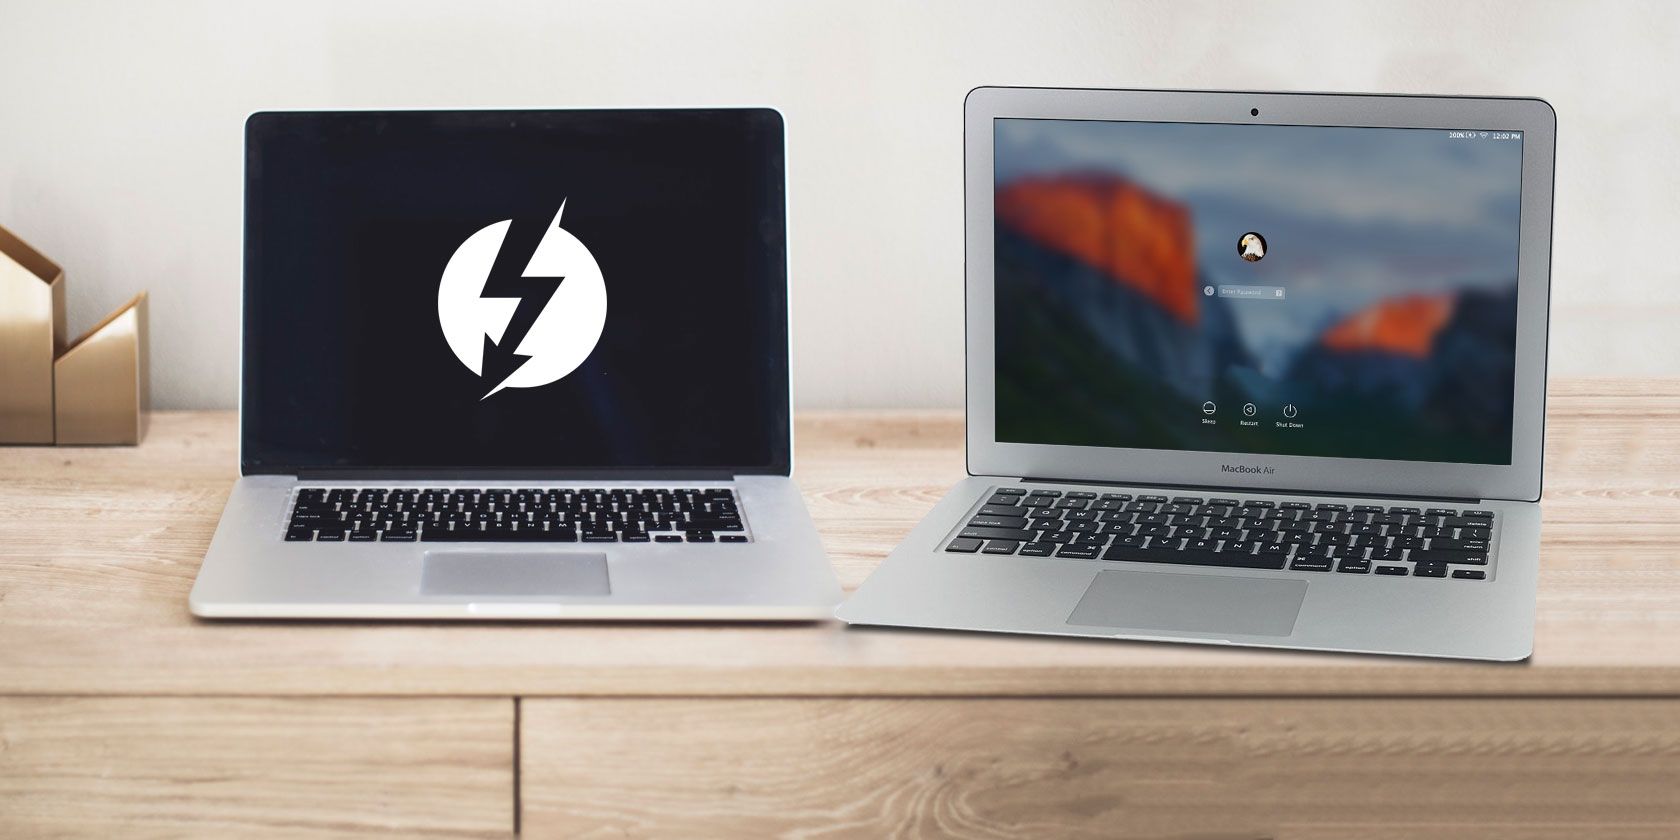
Every Mac can use a variety of boot modes and startup key combinations. One of these is Target Disk Mode, which essentially turns your Mac into an external hard drive.
By connecting two Macs together in this way, you can quickly transfer files, migrate your data to a new Mac, or access your startup disk when macOS refuses to boot. While regular backups are always essential, Target Disk Mode provides added peace of mind in case disaster strikes.
Let’s take a deeper look at what Target Disk Mode is and the different ways you can use it to your benefit.
What Is Target Disk Mode?
Target Disk Mode is a boot mode which allows you to browse and transfer files to and from a Mac’s internal drive without booting macOS. Volumes mount virtually and instantly, and the use of a cable means that transfers are significantly faster than equivalent wireless methods.
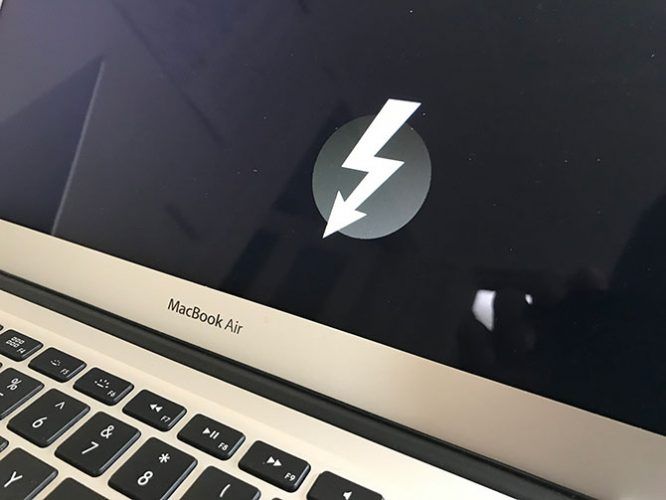
You cannot use the target Mac while it is in Target Disk Mode. Your Mac essentially becomes an enclosure for your internal drive. In order to use your Mac again, you’ll need to disconnect and reboot as normal.
Target Disk Mode was first introduced with the PowerBook 100 in 1991 and has made it into most Mac models since then. Exceptions include the tray-loading iMac, Power Macintosh G3 and G4, models of iBook G3 without FireWire, the first MacBook Air (2008-2009), and old unibody MacBook.
What You Need to Use Target Disk Mode
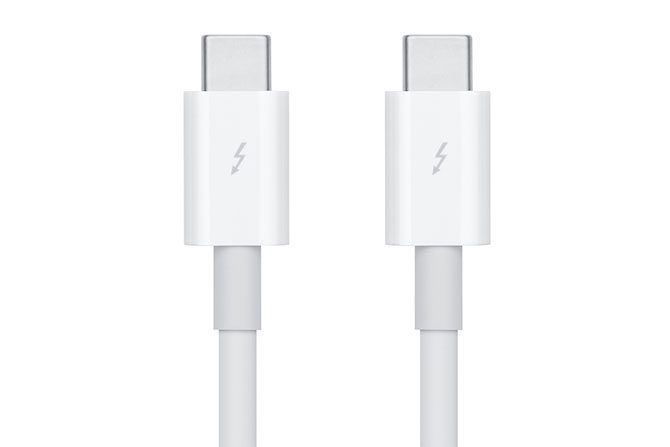
You’ll need two compatible Mac computers in order to use Target Disk Mode, each with a FireWire or Thunderbolt interface. You’ll also need a cable and any necessary adapters (like Thunderbolt to FireWire, or Thunderbolt 2 to Thunderbolt 3).

You cannot use plain old USB type-A connectors (not even USB 3.0), but old Thunderbolt and FireWire connections play nicely with the latest standards. Be aware that Thunderbolt cables aren’t cheap. Apple is currently asking $39 for a 2.6-foot-long Thunderbolt 3 cable.
If you’re using a recent Mac, like the post-2017 MacBook Pro or slim iMac, make sure you pick a genuine Thunderbolt 3 cable and not a new-shape USB cable (or Apple’s charger). We’ve put together a guide to help you understand the differences between USB type-C and Thunderbolt cables.
How to Use Target Disk Mode on Mac
When using Target Disk Mode, each Mac takes on a different role:
- Target: This is the Mac that contains the disk you want to access. You won’t be able to do anything using this Mac, since it will remain in Target Disk Mode for the duration of the operation.
- Host: This is the Mac which will be accessing the drive. It will boot into macOS as normal so you can transfer files.
1. Connect Your Two Machines
Take your cable and connect both computers via the relevant Thunderbolt or FireWire ports. Connect any adapters you need for older machines. If you’re performing this operation on a MacBook, make sure it has enough power for the duration of the transfer or connect it to a power source.
2. Start the Target Mac in Target Disk Mode
You can do this two ways:
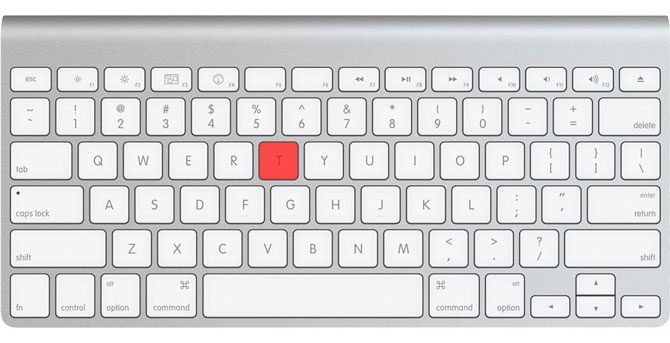
- Shut down your target Mac, hit the power button, then press T and hold it while your Mac boots. You can let go when you see a Thunderbolt or FireWire icon on screen.
- If your target Mac is already running, head to System Preferences > Startup Disk and click on Target Disk Mode to force a restart into Target Disk Mode. No need to hold any keys down here.
3. Decrypt and Access Your Drive
Wait for macOS to detect your target Mac’s drive. If your target drive is encrypted with FileVault, you’ll need to enter your password when you start up the target Mac. Wait for the drive to decrypt, then it should show up like any other external drive.
4. Copy, Transfer, and Disconnect
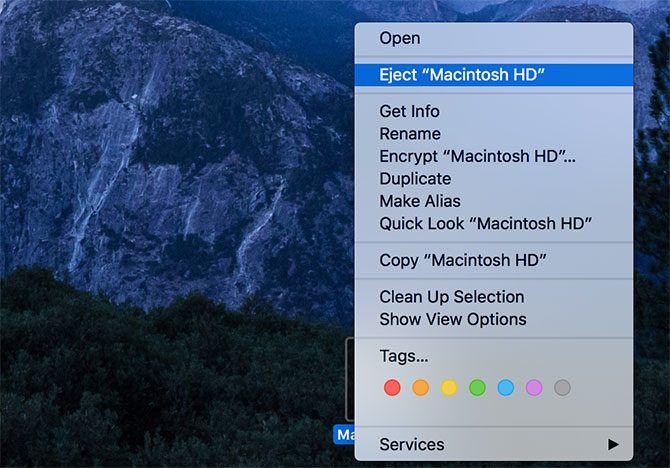
Use Finder to browse files, copy to and from the drive, and then safely eject your drive. You can do this by dragging your target Mac’s drive icon over the Trash can, or by right-clicking the drive and selecting Eject.
On your target Mac, press the power button to power down the machine. You can now restart this machine as normal, if you want.
When to Use Target Disk Mode on Mac
Now that you know how to use target disk mode, you should familiarize yourself with some of the applications for this boot mode.
Quick Wired File Transfers
If you’re used to transferring files between computers using intermediary media like an external hard drive, why not use Target Disk Mode instead? There’s no need to copy from your Mac to a USB volume, then from the USB volume to your destination—simply move from Mac to Mac.
This is most useful for large files like videos, media libraries, disk images, and so on. A wired transfer via Thunderbolt is much faster than a similar wireless transfer using the notoriously buggy AirDrop.
Transferring Data With macOS Migration Assistant
If you’ve bought a new Mac, you’re going to want to transfer your old data to it. There’s no faster way to achieve this than with Target Disk Mode. In this scenario, your new Mac (which you’re transferring data to) is the host and your old Mac (which you want to pull data from) is the target.
Connect the target and host, boot the target into Target Disk Mode as normal, then on the host launch Migration Assistant under Utilities. Select From another Mac, PC, Time Machine backup, or other disk then select From a Mac, Time Machine backup, or startup disk.
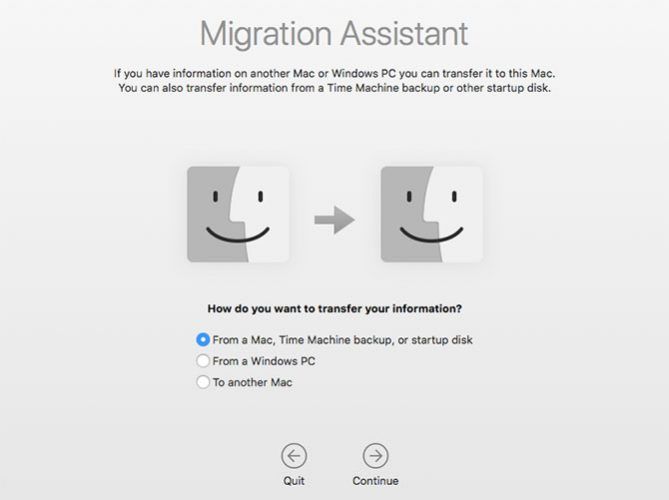
When prompted, select your target Mac’s drive and hit Continue to start the transfer process.
Recovering Files When macOS Won’t Boot
Operating system failures happen to the best of us. Whether it’s the result of a botched macOS upgrade, or a dodgy kernel extension that’s preventing your system from booting, connect your problem Mac in Target Disk Mode and breathe easy.
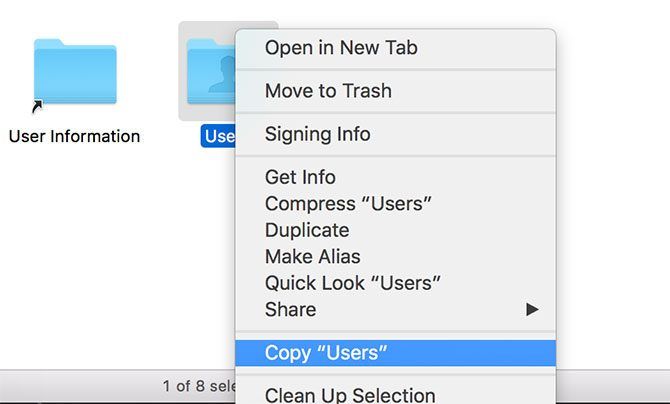
Once you’ve mounted your Mac’s drive, you can start to copy the important files, media libraries, and work documents you forgot to back up. If you’ve got enough space, you could grab your entire /Users/ folder!
Run a Target Mac’s Operating System on the Host
What if you have a MacBook with a broken screen or dodgy keyboard? Using Target Disk Mode, you can use a host Mac to boot a target’s operating system. This will restore access to your damaged Mac so you can recover files, wipe the hard drive, and do anything else you need to do.
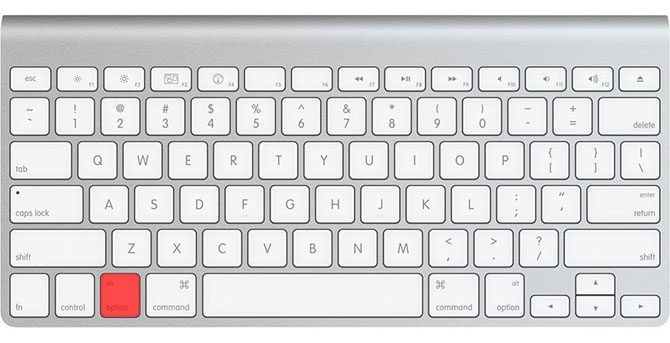
Connect the two machines as normal, and launch your broken (target) Mac in Target Disk Mode. Now reboot the host machine and enter Startup Manager by holding Option as your host Mac boots. You’ll see your target Mac’s drive appear in the boot menu. Select it, and your host will boot your target’s drive as normal.
You’ll need to know the FileVault password in order to decrypt the drive if you’re using it. From here, it’s possible to recover files, run applications, and prepare your machine for repair.
Limitations of Target Disk Mode on Mac
Target Disk Mode offers real peace of mind and some everyday benefits—you’ll just have to remember to use it! But if you’ve really trashed your target Mac, this can’t help fix your problems.
This is because Target Disk Mode will only work if your drive is operational. If you have a faulty drive, be prepared for some issues. Damage to Thunderbolt and FireWire ports will also make this tricky, as well as logic board issues that might prevent normal operation of these ports.
Read the full article: What Is Target Disk Mode? How and When to Use It on Your Mac
from MakeUseOf https://ift.tt/2lhFgVH
via IFTTT

0 comments: