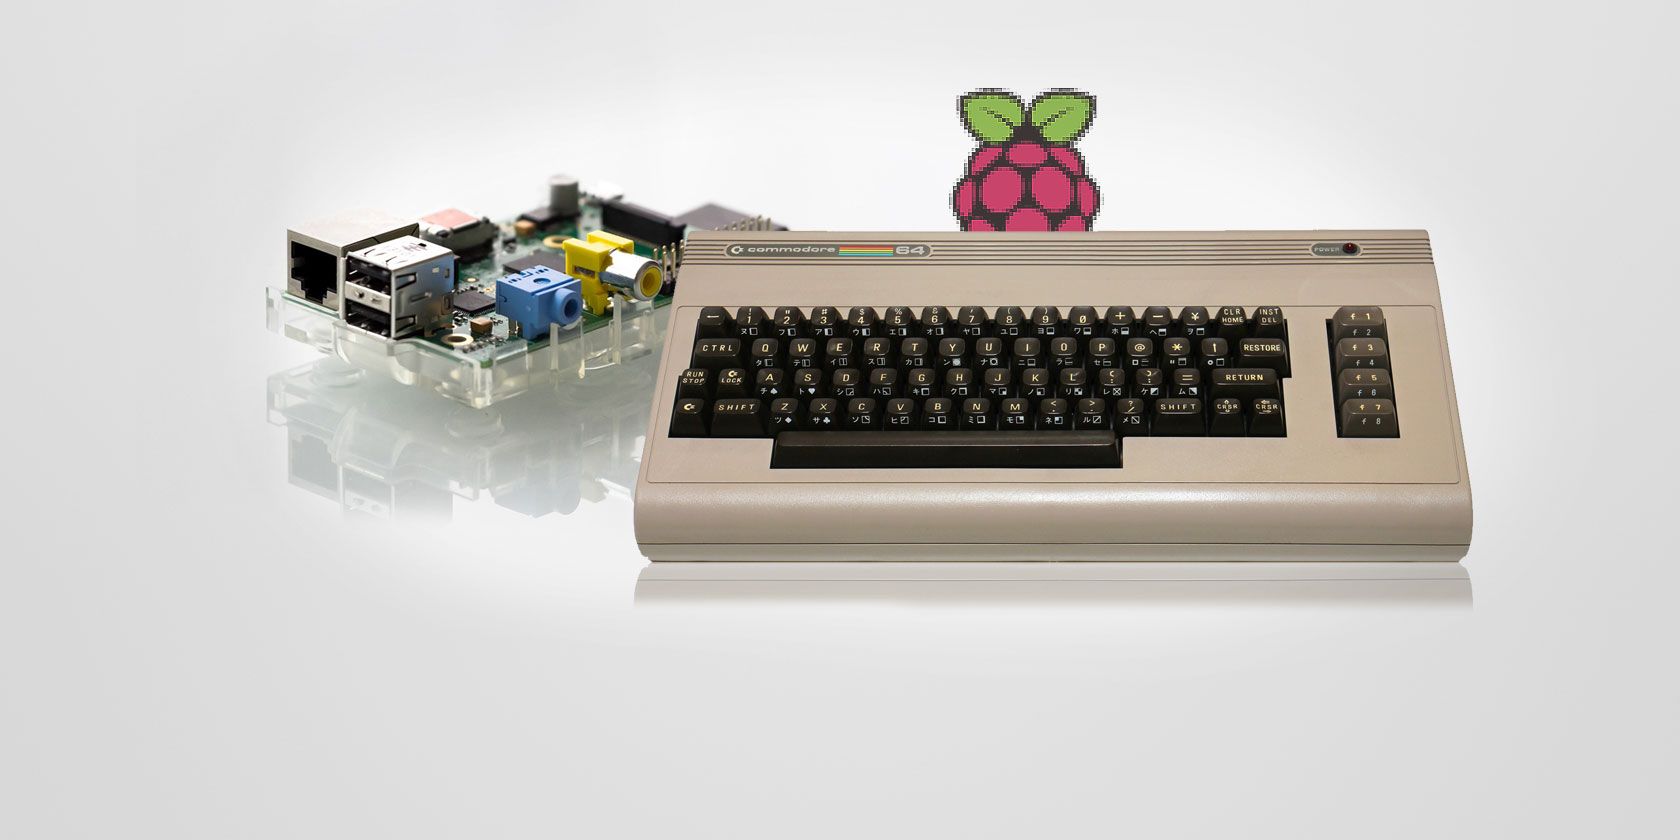
Looking for some 8-bit gaming action? Can’t afford the amazing prices of original Commodore 64 games on eBay? Not keen on the C64 Mini? That’s okay!
You can always build your own compact Commodore 64 using nothing more than an affordable Raspberry Pi. Here’s everything you need to know about how to do it.
Why Not Use a C64 Mini?
Released in early 2018, the C64 Mini is a compact computer that successfully emulates the original Commodore 64. Unfortunately, it’s not without its bugs, and shipping at $100, that’s not ideal. It’s difficult to add your own game ROMs to the C64 Mini, and it ships without an AC adaptor (which seems unforgivable these days).
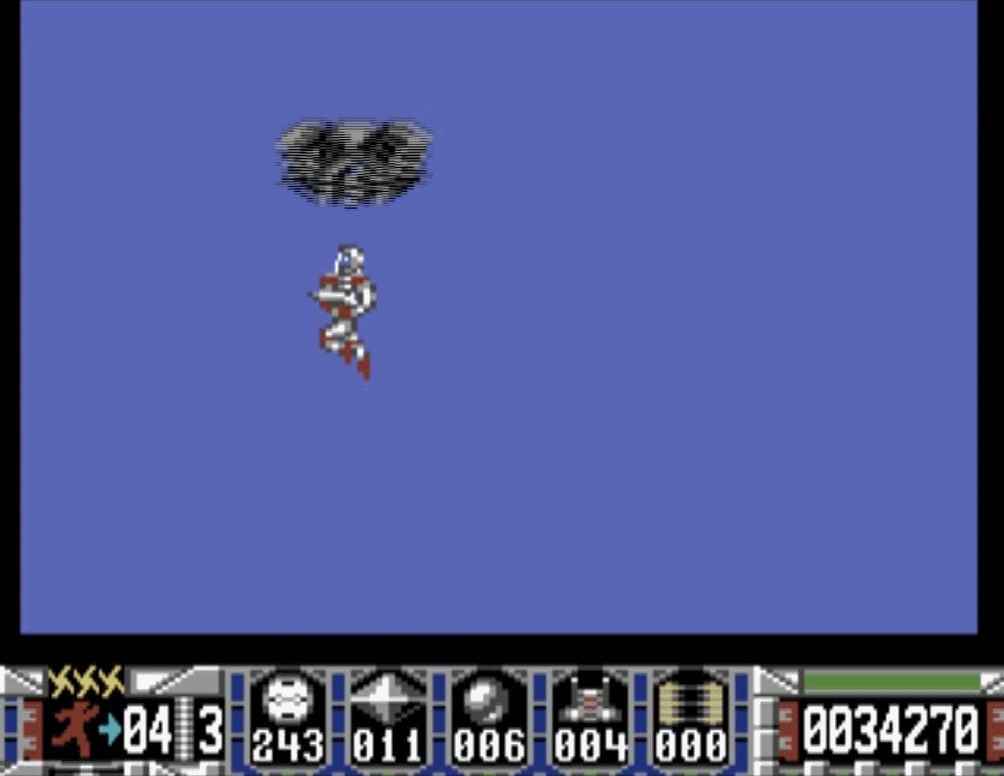
The C64 Mini also ships with a joystick, which doubles as a controller to navigate through the system, launching games, creating saves, and so on. Unfortunately, it’s not a great joystick.
While it might be ideal for hardcore enthusiasts, there is a chance the C64 Mini could give a newcomer a very bad impression of 8-bit gaming. Fortunately, there’s an alternative: your Raspberry Pi.
Use Any Raspberry Pi Model You Like!
Often in projects like this, you’re limited by the hardware constraints of the Raspberry Pi. For instance, running Sega Dreamcast games on the Raspberry Pi requires a Raspberry Pi 2 or later.
Happily, you can run Commodore 64 emulators on almost any model of Raspberry Pi that you can get your hands on. Whether an original Raspberry Pi A, B, or Zero, any Pi is suitable for emulating a Commodore 64!
While you can install RetroPie and configure the VICE64 emulator, you’ll enjoy more authentic results with a dedicated system. Two examples are available:
- Combian64: a Raspbian-based system that boots directly into the VICE 64 emulator. This is suitable for almost all Raspberry Pi models, and was produced by Carmelo Maiolino.
- C64 by Pi Lizard: based on Raspbian Lite, this has screen resolution tweaks, and is intended for the Raspberry Pi 3. Like Combian64, this boots directly into the VICE64 environment.
The option you choose depends on the model of Raspberry Pi you’re using. We’re using C64 by Pi Lizard for this tutorial, but the instructions for Combian 64 won’t be too different.
Along with your Raspberry Pi, you’ll need a microSD card, HDMI cable, and reliable power supply. You should also have a USB keyboard handy (the mouse isn’t really that important, although it should work), and a USB joystick. Games for the C64 were either keyboard or joystick based, so gamepads and Xbox controllers are less suitable.
Select a Suitable Raspberry Pi Case
In addition, you might like to fit your Raspberry Pi into a suitable, C64-inspired case. Several of these are available, but they’re not the cheapest options, thanks to the complexities of the design.
For instance, a NES-style case for a Raspberry Pi is far simpler there’s no keyboard, after all. You’ll find a C64-based case on eBay, for instance, but you could save a lot of money using a standard Raspberry Pi case.
There’s also the option of 3D printing your own case, using the design by Freakdude that you can download from Thingiverse.
Grab a C64 Image for Raspberry Pi
Get started by choosing your preferred C64 disk image, and burning it to your microSD card. You’ll need a card with at least 2GB capacity for this, although the more space, the more games you’re be able to squeeze in.
The best tool to use for this is Ether, which you’ll find at etcher.io. Download the tool (it’s available for Windows, macOS, and Linux), install and run it, then use Select image to find the downloaded IMG file, and Select drive to choose your formatted microSD card (this should be detected automatically). With everything selected, click Flash to burn the disk image to the microSD card.
Other options are available for installing disk images on your Raspberry Pi.
With the disk image written to your microSD, eject the disk safely from your PC, insert it in your Raspberry Pi, and boot up. Welcome to your new Commodore 64!
Adding Games to the Pi 64
Ready to start playing? You’ll need some game ROMs to enjoy games on your custom built mini C64. ROMs are in the format of D64 or T64, depending on whether they were created from disk or cassette tape (some tape ROMs use the TAP file extension).
We cannot give you any links to finding ROMs online. You’ll have to use your favorite search engine to search for Commodore 64 ROM files. Note that you shouldn’t use any ROMs that you don’t own the physical media for.
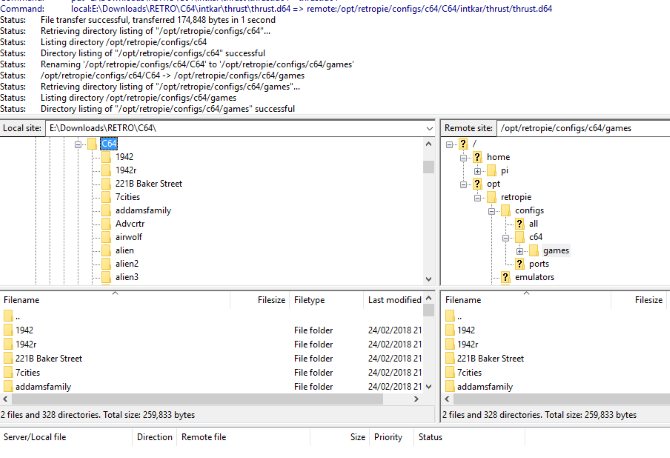
Once you have the ROMs, you have three options to add games to your Raspberry Pi. We’re assuming that you’ve downloaded them first to your PC. They should be stored in the /software directory.
- Copy game ROMs via USB stick.
- Remove the microSD card and copy the ROMs into the /software/ directory in the /root/ partition. You’ll need to use Linux (or a Linux virtual machine) for this approach.
- Using an FTP client with SFTP functionality, you’ll be able to remotely connect to the Raspberry Pi, and upload the games to the /software/ directory. Before you do this, eject the microSD card from your Raspberry Pi and create a blank text file in the /boot/ directory called ssh, which will enable SSH connectivity. Use the default Raspbian username (“pi”) and password (“raspberry”) to log in.
Play C64 Games on Your Raspberry Pi
With your game library uploaded, it’s time to play. As with the original Commodore 64, all you need to do is insert the game, then input the load command. To access the VICE menu, press F12 on the keyboard, or Start on a game controller.
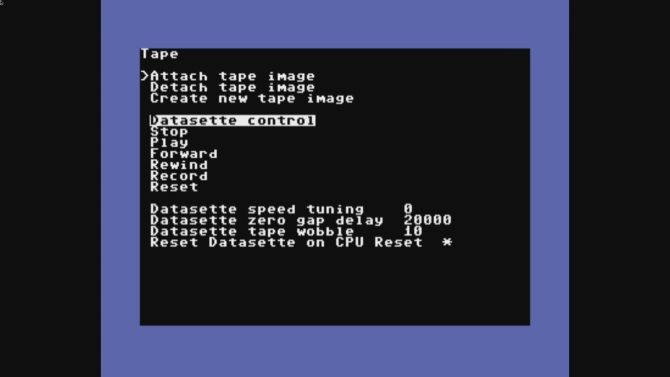
Here, you can browse through various options, from attaching game images (in tape or disk format) to getting online via Ethernet. It’s also possible to create screenshots, record audio, and save or load game snapshots. While in the old days, it was mostly impossible to save your C64 games, you can now easily save progress as a snapshot, and return to it later!
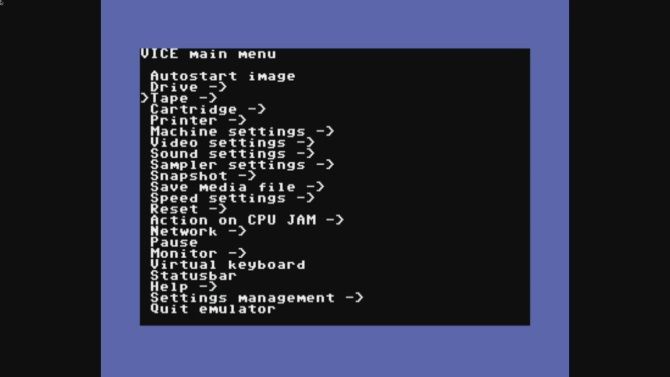
For simple Commodore 64 gaming, however, you won’t need to make any significant changes to the configuration. To load games once the image is attached, use Autostart image. Tape-based ROMs will take longer to load than disk-based ROMs, so D64 files should load quicker than T64 files.
Note: Alternatively, if you want a full nostalgic C64 experience, connect a keyboard and type LOAD for T64 files, and LOAD “*”,8,1 for D64 files. Press Enter on the keyboard when you’re ready.
Moments later, you’ll be rocking some 8-bit gaming retro magic on your dedicated C64 minicomputer. Don’t get lost in that massive game library! When you’re done, hit Start, then find Quit Emulator in the menu. Select this, and the C64 emulator will end, and the Raspberry Pi will power off.
Looking for a different platform to emulate? Don’t worry, you’re not limited by the C64. Many retro games consoles can also be emulated on a Raspberry Pi.
Read the full article: How to Build a Commodore 64 Mini Using a Raspberry Pi
from MakeUseOf https://ift.tt/2yKrzrJ
via IFTTT

0 comments: