
If you haven’t given Trello Power-Ups a shot yet, you’re missing out. These are add-ons that can work magic on your boards.
Power-Ups bring extra functionality, fields, and data to your Trello account. For example, JotForm lets you create forms in Trello with close to zero effort. There are all kinds of useful features you can unlock, if you know where to look.
Let’s explore some of the best Power-Ups you can benefit from no matter what you use Trello for, but first we’ll show you how to enable and disable them.
How to Enable/Disable a Trello Power-Up
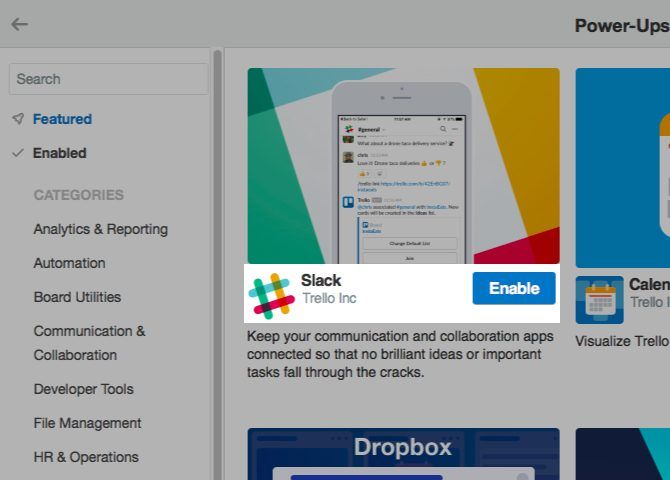
Open any Trello board and click on the Show Menu button below your profile picture at the top right. In the fly-out menu that appears, you’ll see a Power-Ups button. Click on it to enter the world of Trello Power-Ups, which is a gallery full of add-ons to pick from.
Each Power-Up comes with a bite-sized description and a big blue Enable button to add the Power-Up to the active board. After you enable it, you’ll see a gear icon next to the name of the Power-Up. This leads to the Power-Up’s settings.
Not sure what a particular Power-Up does? Click on it in the gallery to reveal a detailed description that tells you what you need to know.
Once you enable a Power-Up, it usually shows up in one of two places:
- On the back of a card, under the Power-Ups section in the sidebar, or
- To the left of the Show Menu button on the board
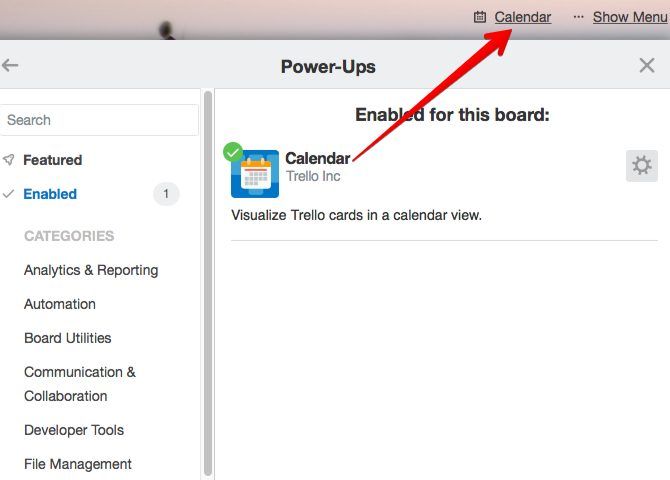
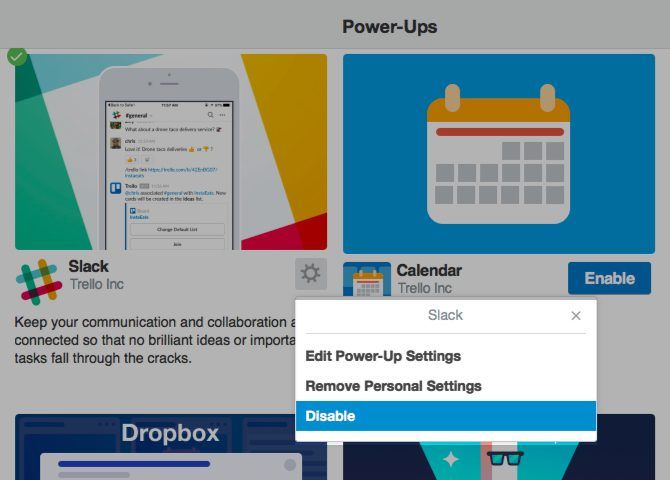
If you want to disable a Power-Up, you’ll have to first look it up in the gallery. You’ll find the Disable button in the add-on’s settings.
Now let’s explore some of those excellent Power-Ups. You can search for them from the gallery itself.
1. Calendar
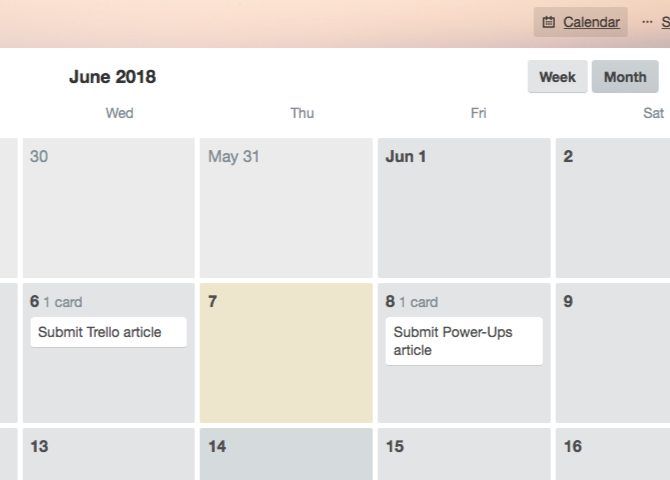
The Calendar Power-Up displays your cards on a calendar, which makes it easy to keep tabs on due dates. You can switch between a couple of views for the calendar: a weekly view and a monthly view. Feel free to move cards around to update their due dates.
Want to sync a board’s calendar with your personal one? Look for the gear icon next to Month (i.e. the monthly view button at the top right of the calendar). You’ll find the sync feature hidden behind it.
The calendar view is not the only special view you can add to a board. Try the Trello Tree View Power-Up if you want to display lists and cards in a tree format.
2. Card Repeater
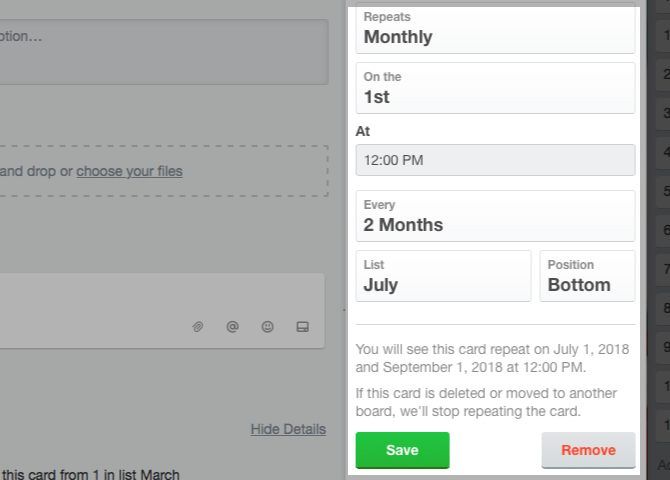
Thanks to the Card Repeater Power-Up, you can let Trello handle card creation for you. Once you enable it, the Power-Up allows you to schedule duplication of cards. You can do this from the back of the card.
Look for the Repeat button in the sidebar on the card back. Click on it to reveal card cloning settings. Among other things, you’ll be able to select the list, position, and the frequency for creating recurring cards.
If you move the card to another board (or even delete it), the Power-Up becomes inactive and the card won’t get repeated anymore.
3. Custom Fields
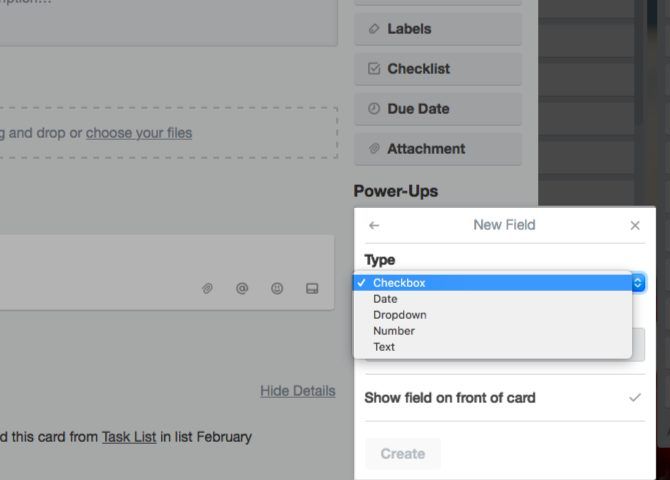
If you want to go beyond checklists and add elements like dropdown menus, dates, and emoji, you need the Custom Fields Power-Up. After you enable it, open a card back and click on the Custom Fields button in the sidebar to start creating new fields.
Adding and deleting field data is straightforward. While creating a field, you get an option to display it on the front of the card.
4. Card Aging
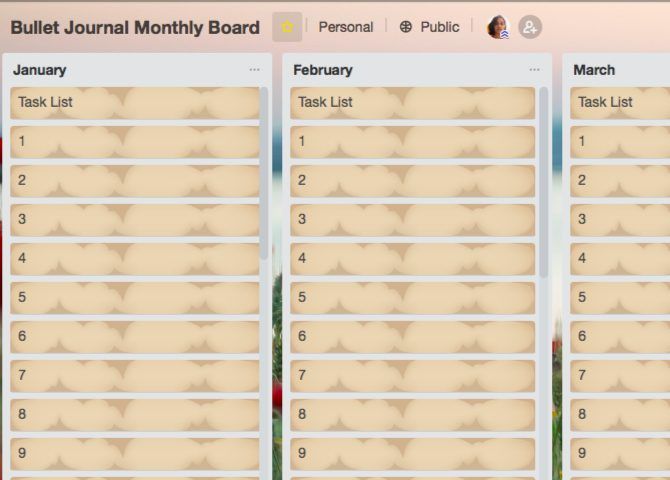
The Card Aging Power-Up ensures that inactive cards don’t slip under your radar. As cards get older and stay inactive, they begin to fade (as you can see in the screenshot above).
The idea here is to prompt you to take action on old cards. Discard them or deal with them! Once you update a card, it will lose the aged look. If you want to see when the card last got an update, check the card back for the date.
You can switch between two visual modes for aged cards:
- Regular mode: Increased transparency
- Pirate mode: A “crackle and tear” finish
To switch to the mode of your choice, visit the Power-Up’s settings.
5. Card Snooze
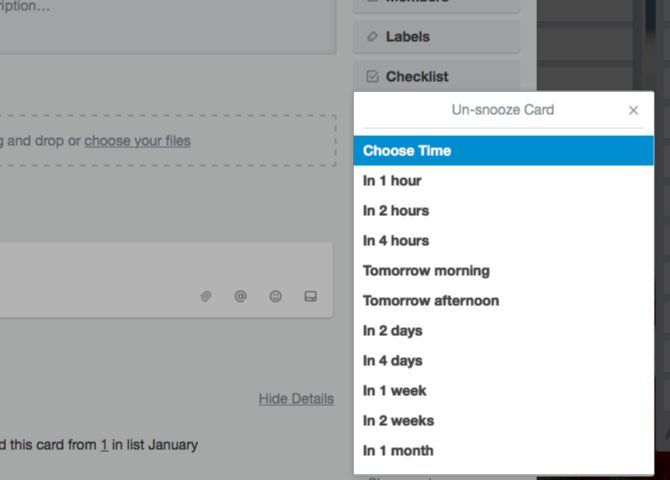
This Power-Up is for those cards that you neither want to get rid of nor want to deal with right away. It archives them to keep them out of sight till you’re ready to tackle them.
Once you enable the Power-Up, click on its button on the back of a card to reveal snooze options. You can pick from one of the default durations or add a custom date and time.
Right after the snooze time is up, the card reappears on your board. If you would like to get to the card before that time, head to Show Menu > More > Archived items to find it.
6. Butler
Wish you had an assistant to create cards, sort, assign, and archive them, add labels, set due dates, and so on? You do have one! It comes in the form of the Butler Power-Up.
Once you set up dedicated buttons to handle repetitive tasks, Butler takes care of the rest. This Power-Up is the way to go if you want to put most of your Trello activity on autopilot. Here’s how to start delegating tasks to Butler.
7. Slack
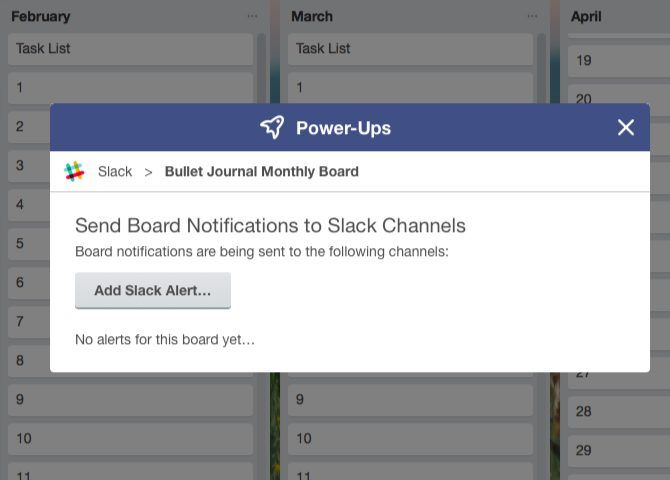
The Slack Power-Up ensures that your data flows smoothly from Trello to Slack and back. It brings Slack conversations to Trello and posts card activity to Slack.
Want reminders and alerts in Slack for Trello activity? Consider it done. You can also send cards to specific channels or in a direct message.
8. Twitter
If your work relies heavily on Twitter, get the Twitter Power-Up right away.
After you enable the Power-Up and link your Twitter account via the Twitter button on a card back, you’re ready to bring in tweets and attach them to cards. You can pick from sources like your timeline and @mentions. Dragging and dropping a tweet onto a card also works.
You don’t have to leave Trello and switch to Twitter to like or reply to tweets or retweet them. For tweets attached to cards, you can take care of those tasks from Trello itself.
9. Zapier
Your Trello boards are happier when you pair them with Zapier. ??? How to use the @zapier Power-Up for Trello: https://t.co/zTTjKOwtHU pic.twitter.com/nN7RfEIMJT
— Trello (@trello) January 13, 2018
If you’re a fan of the automation service Zapier, you’ll love the Zapier Power-Up. It allows you to trigger Trello activity in tandem with activity from other apps like Gmail, Evernote, and Facebook.
For example, you can use the Power-Up to push archived Trello cards to a Google Sheets spreadsheet, or turn Gmail emails into Trello cards.
If you’re not familiar with the automation power of Zapier, read our guide to create awesome life automations with this popular service.
10. Evernote
The Evernote Power-Up lets you search and attach notes to cards without leaving Trello. You can also create notes on the fly and then attach them.
You get access to these functions only after you authorize Trello to use your Evernote account. To do this, you’ll have to access the Power-Up’s settings.
How Many Trello Power-Ups Can You Use?
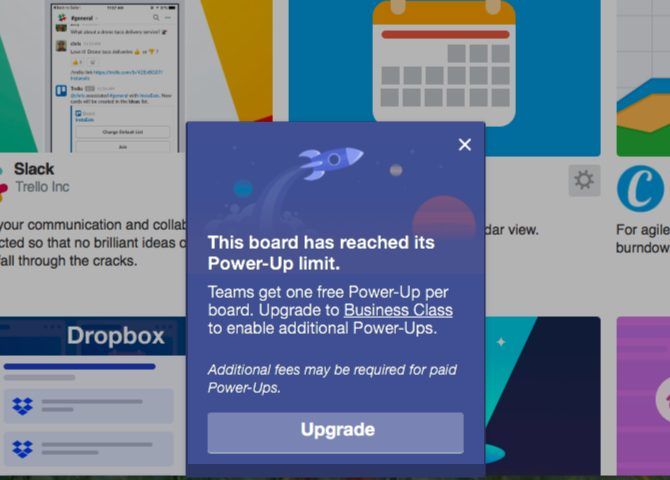
If your Trello account is on the Business Class plan or the Enterprise plan, there’s no limit on the number of Power-Ups you can enable.
If you use Trello Gold ($5/month), you get three Power-Ups per board.
Are you on the free tier? Then you get only one Power-Up per board. But don’t let that put you off Power-Ups; you can still put them to good use!
Supercharge Your Trello Workflow With Power-Ups
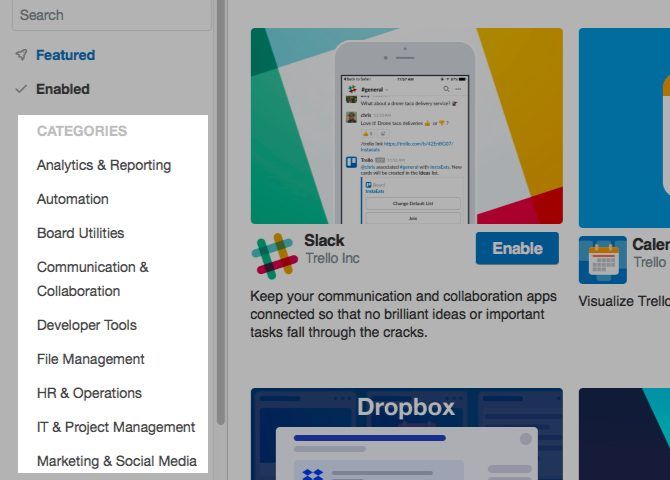
We have limited our list to ten Power-Ups, but there are plenty more where those came from. You’re sure to find a few that are just right for your team and your projects.
Wading through reams of data coming at you from all directions is tough. Trello understands your dilemma and does its bit to help you out with special features like Power-Ups. Take advantage of them and get creative with your Trello activity.
Read the full article: The 10 Best Trello Power-Ups to Add to Your Workflow Today
from MakeUseOf https://ift.tt/2Jzmdor
via IFTTT

0 comments: