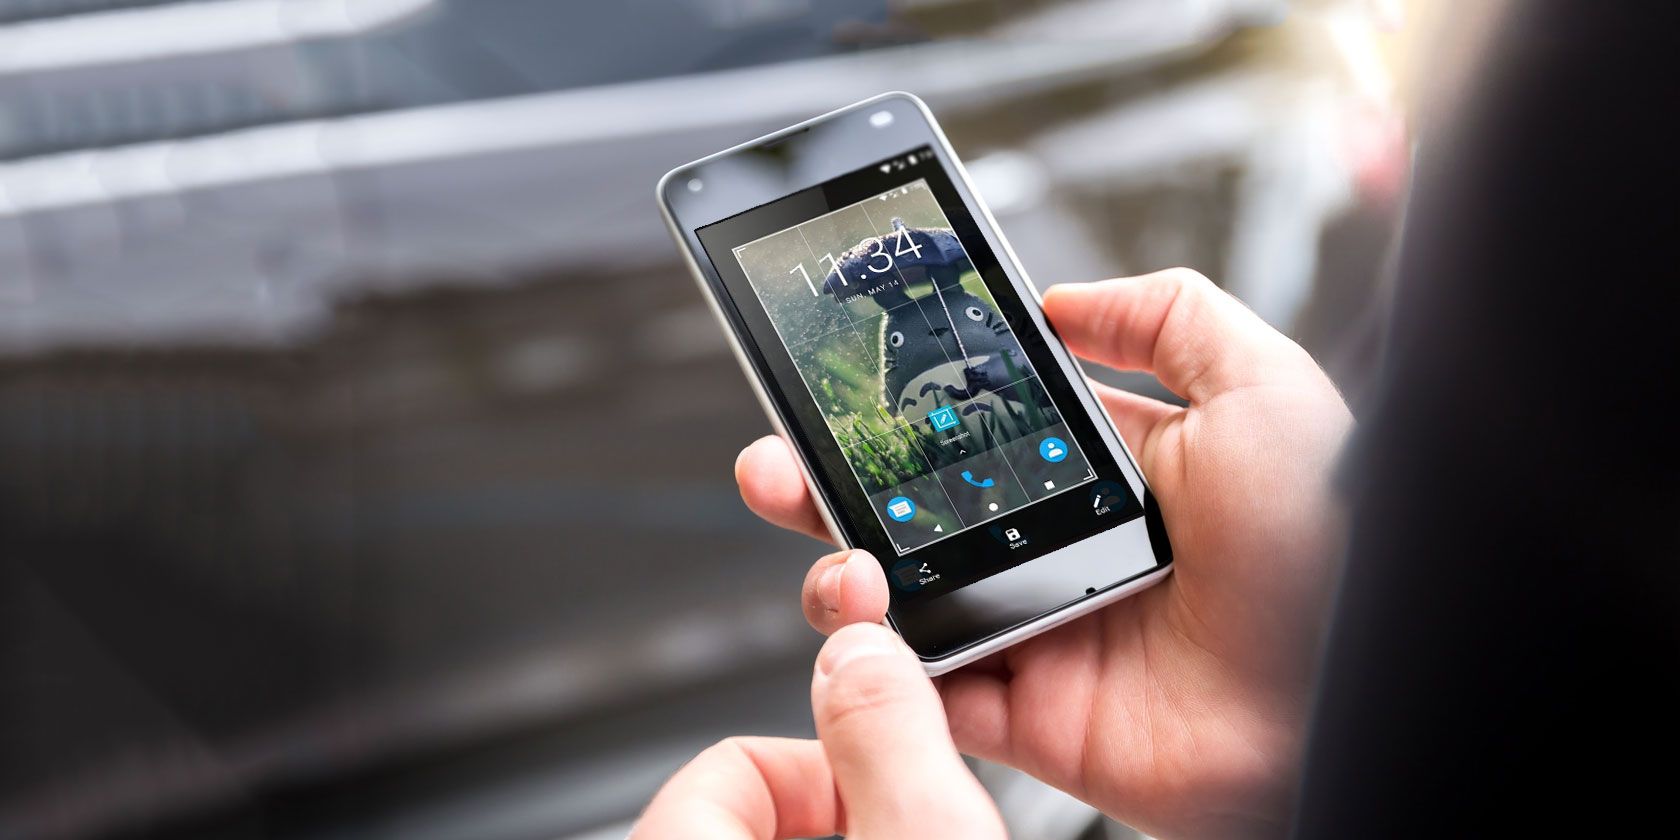
If you want to annotate mobile screenshots on Android, your phone may already have built-in screenshot marking features. While not all phones have this useful functionality, you can easily add it by using third-party apps.
Let’s talk about how to mark on photos on Android, and the apps that can help you do that. Many of these procedures rely on an app called Screen Master, so download that before diving in.
Download: Screen Master (Free, premium version available)
1. How to Highlight a Portion of an Image on Android
Screen Master makes it easy to annotate photos on Android. Take an Android screenshot of what you want to highlight, then tap Edit. Along the bottom, scroll to the right until you find Spotlight, then tap on it.
Find a shape that you’d like to use for highlighting at the bottom and tap it. Then, drag your finger around what you want to highlight to draw that shape. This is one of the easiest ways to highlight text in a screenshot on Android; draw a box over what requires attention, and the app will make it stand out.
2. How to Draw on a Screenshot on Android
If you’re next wondering how to draw on screenshots in Android, it’s best to stick with Screen Master. We think it’s one of the best Android apps for annotating photos due to its simplicity.
After you’ve taken a photo, tap on Edit, then Draw. Then select the shape you want to use. If you’re going to circle something on a picture, select either the square or the circle shape and drag it around your focus area. You can also use freehand drawings and arrows to make your point.
3. How to Pixelate an Image on Android
Screen Master can also obfuscate elements of an image before sharing it. Take your screenshot, then tap on Edit. Next, select Mosaic.
Here, you’ll find a few settings to customize your pixelation. The dot on the left changes the brush side for the freeform option, while the water droplet changes the blur intensity. Use the box you to change the censoring method: the checkerboard is pixelation, the smeared image is blurring, and the jagged image is triangles.
Finally, the box with four corners lets you draw out a block to pixelate something, and the pointing finger lets you freeform draw. If you make a mistake, you can select the eraser to get rid of the censoring.
4. How to Write on a Screenshot on Android
Need to add text to your images? This too is possible with Screen Master. Just capture the image, tap Edit, then choose Text. However, you’ll quickly find that the text options are a little rudimentary; there’s very little on offer for adding some flare to your photos!
Thus, we recommend another app, Pixlr, for annotating images with text. You can’t take screenshots with it, so feel free to use Screen Master to make the initial screenshot. Then boot up Pixlr, tap on Photos, and select the image that needs text. Tap the T icon with a box around it.
The app will ask you to type your message. Enter your choice and tap Next at the top-right. You can now customize the text by changing the font, color, and shading. You can rotate the text by swiping one finger or change the font size by pinching or expanding with two fingers.
Download: Pixlr (Free, in-app purchases available)
5. How to Make a Collage on Android
Pixlr is also fantastic at stitching multiple images into a single frame. This is something that Screen Master can’t do, even with the premium option.
To do this, open the app and choose Collage. Here, choose up to four images from the image library and click Done. Now choose from the variety of collage designs you want to put those images in, such as side-by-side, top-and-bottom, or picture-in-picture. The tools at the bottom let you tweak the overall appearance of the collage.
6. How to Create Long Screenshots on Android
Long screenshots are available in Screen Master. This used to be premium-only, but is available to free users at the time of writing. To take a long screenshot, take a picture like you usually do. Make sure you take the first photo where you want to have the start of the long screenshot. Then, tap the Stitch button.
The app will launch the stitched screenshot creator. At the top-right, you’ll see the screenshot you just took, minimized. Meanwhile, the main screen will show the page you took a screenshot of.
To create a long screenshot, scroll down the main page until the top of the page looks like the bottom of the top-right screenshot. Then tap the Plus icon to add it to the chain. Continue down the page until you finish, then tap the Check to confirm your selection.
You’ll then see all the images you took, stacked on top of one another. Here, you can tap the scissors icon next to each division to stitch the photos yourself, or tap the Auto Stitch button to have the app do it for you.
Once you finish, you’ll have an extra-long screenshot that looks a lot cleaner than posting multiple screenshots. If you like this screenshot style, it’s worth also trying out the best mobile apps for scrolling screenshots. One of those apps may fit your needs better than Screen Master.
Taking Better Pictures on Android
You don’t need to upload screenshots and images to your computer to edit them; Android apps can do it for you. Now you know how to mark on, blur, and stitch together images on Android, and the two apps that make doing so simple.
Did you know you can also work on videos using a mobile device? Take a look at the best Android video editors for the job.
Read the full article: How to Annotate Screenshots and Images on Android Like a Pro
from MakeUseOf https://ift.tt/2LwLmyZ
via IFTTT


0 comments: